
DTF Heat Press Settings: Time, Temp, and Pressure by Fabric
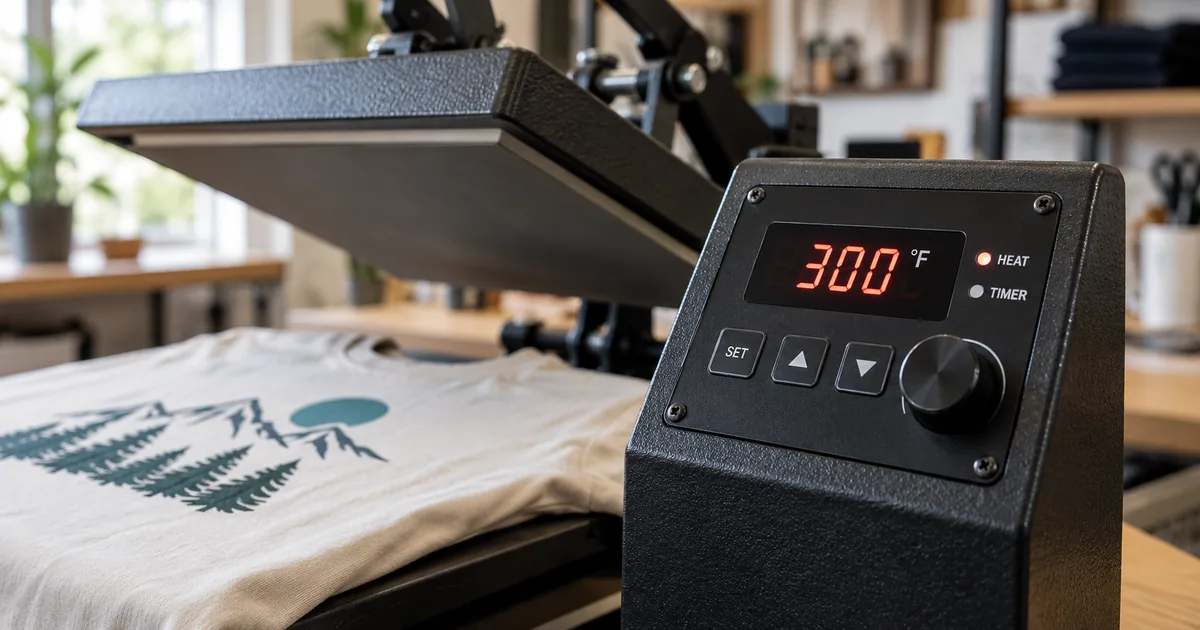
Here are the DTF heat press settings we use in our own shop and hand out with every transfer. Start at 300 to 310 F, medium to firm pressure, 12 to 15 seconds, then peel and do a short second press. That one line covers most cotton and blend shirts. The rest of this guide covers what changes by fabric and how to fix the usual problems.
Every press runs a little different, and the temperature on the dial is not always the temperature at the platen. So treat these as a starting point, do one test shirt, and adjust from there.
We print DTF transfers in Vancouver, WA for crafters and small shops across Clark County and Portland. Everything below is written for someone with a basic clamshell or swing away press at home.
What temp do you press DTF transfers?
The temperature for DTF transfers is almost always in the 280 to 325 F window. Where you land inside that window depends on the fabric. The adhesive on the back of the transfer needs enough heat to melt fully and flow into the fibers. Too cold and the design peels at the edges after a wash or two. Too hot and polyester scorches or the dye in the shirt bleeds up into the print.
Our default is 305 F. If a shirt has any polyester in it, we drop toward 285 to 295 F. For heavy cotton, canvas or thick fleece we go up toward 315 to 320 F or add a few seconds.
DTF heat press settings by fabric
Here is the chart we keep taped to the press. Pressure is described in plain words since every press gauges it differently. Medium means the platen closes with some effort and leaves a light impression. Firm means you have to lean on the handle.
| Fabric | Temp | Time, pressure |
|---|---|---|
| 100% cotton | 305 to 315 F | 15 sec, firm |
| 50/50 blend | 295 to 305 F | 12 to 15 sec, medium firm |
| Tri-blend | 285 to 295 F | 12 sec, medium |
| 100% polyester | 280 to 290 F | 10 to 12 sec, medium |
| Fleece hoodies | 305 to 315 F | 15 to 18 sec, firm |
| Canvas totes | 310 to 320 F | 15 to 18 sec, firm |
| Nylon, jackets | 270 to 285 F | 10 sec, light medium |
Notes on the tricky ones:
- Polyester can show a shiny press mark or bleed dye into light inks. Lower temp, shorter time, and a pressing pillow or a piece of parchment under the shirt help a lot.
- Hoodies have seams, pockets and a zipper that keep the platen from sitting flat. Slide a pressing pillow inside so the print area is the high point.
- Nylon melts. Test on a hidden spot first. Some coated nylon will never bond well, and we will tell you if your blank is one of them.
- Hats need a hat press or a small platen. Around 300 F for about 10 seconds with medium pressure, with a second press after peel.
Not sure what your shirt is made of? Check the neck tag. If there is no tag, our post on the best shirts for DTF transfers lists blanks that press clean every time.
How long to press DTF transfers, step by step
Time and temp for DTF transfers are only half the job. The order of steps matters just as much. Here is our full routine.
- Preheat the press and let it sit at temp for a few minutes so the whole platen is even.
- Pre-press the blank for 3 to 5 seconds. This flattens wrinkles and drives out moisture, which is a big deal in a damp Northwest garage.
- Place the transfer ink side down, film side up. Use heat tape if the design is big or the shirt is slippery.
- Press for the time in the chart. Count it, do not guess.
- Peel the film. Ours are hot peel, so peel right away in one smooth, low motion. If the ink lifts, stop, lay it back down, press 5 more seconds, and try again.
- Second press with parchment or a Teflon sheet over the design for 5 to 10 seconds. This locks the ink into the fabric and softens the feel. Do not skip this.
- Let it cool flat before folding or stacking.
If you want photos of each step, our how to apply DTF transfers post walks through the same process in more detail.
Hot peel or cold peel?
This depends on the film the transfer was printed on, not on your press. Hot peel film releases right out of the press. Cold peel film has to cool all the way down first, or the ink stays on the film. Most transfers made today, including ours, are hot peel, but always check the note that came with your order.
If you do not know, wait. Peeling a cold peel transfer hot ruins it. Peeling a hot peel transfer cold usually still works.
Why is my DTF transfer peeling or cracking?
Nine times out of ten, a bad result comes down to one of these.
- Edges lift after washing. Not enough heat or pressure. Bump the temp 10 degrees or add 3 seconds, and make sure the pressure is firm.
- Ink stays on the film when peeling. Press was not up to temp, or it is a cold peel film. Lay it back down and press again.
- Design feels stiff or plasticky. You skipped the second press, or the design is a big solid block. Second press with parchment fixes most of it.
- Shiny box around the design. Too hot for polyester. Drop the temp and use a pillow.
- Cracks after a few wears. Usually under pressed, or dried on high heat. Wash inside out, dry low.
- One side bonded, one side did not. Uneven platen pressure. Check that your press closes flat, and use a pillow on hoodies.
A cheap infrared thermometer is the best ten dollars you can spend. Many small presses read 15 to 25 degrees off from the dial. Point it at the center and the corners of the platen and you will know your true temperature.
Pressing in the Pacific Northwest: moisture is the enemy
Most of the home pressers we work with around Vancouver and Portland run their press in a garage, a shed, or a spare room. From October through April, those spaces hold a lot of moisture. Damp shirts and damp transfers both cause steam under the platen, and steam keeps the glue from bonding.
Three habits fix it. Store transfers in a sealed bag or tote, not loose on a shelf. Pre-press every blank a little longer, 5 to 7 seconds, in the wet months. And if a shirt has been sitting in a cold garage, bring it inside the day before. If you order transfers from us for local pickup, they go home with you flat and dry in a sleeve, ready to press.
Ready to order? See our ready to press DTF transfers page for options, what to send us, and how to get a quote.
Questions people ask
What temperature for DTF transfers on 100% cotton?
Around 305 to 315 F for 15 seconds with firm pressure, then hot peel and a 5 to 10 second second press. Cotton is the most forgiving fabric, so if you are learning, start here.
Can I press DTF transfers with a Cricut press or an iron?
A small craft press works if it reaches 300 F and you can get firm, even pressure. An iron is doable for a small design with patience and a hard surface under the shirt. Our post on applying DTF transfers with an iron covers the trick to it. A real heat press is still the best way to get consistent results.
How long do I wait before washing a pressed shirt?
Give it at least 24 hours so the adhesive fully sets. After that, wash inside out in cold or warm water and dry on low or hang dry. Skip bleach and fabric softener.
Do the settings change for a gang sheet?
No. Cut each design off the gang sheet and press it with the same settings as a single transfer. Leave a little film margin around each design so you have something to grab when peeling.
Need transfers that come with the settings printed right on the sleeve? Send us the idea and a rough quantity through our contact page and we will send a proof and a price.